Master Project Program Management Within Project Server 2013
You have the option to leverage Microsoft Project Server 2013 to manage a program of related projects. You will start by creating a Master project to collect a series of smaller projects. Each project inserted into the master project will be call a subproject. Below are the details of providing Master Project program management within Project Server 2013.
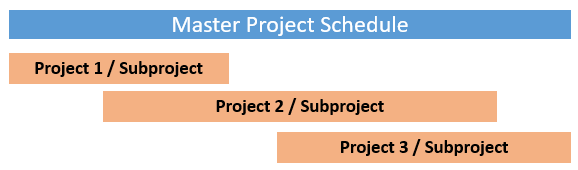
Scenario: We have a series of three related projects that will be incorporated into a Master Project to manage the entire program of subprojects within one primary project schedule.
Below are the detailed configurations within both Project Professional and Project Server 2013, soup to nuts.

Inserting Subprojects into the Master Project
Once all of the subprojects have been saved into Project Server, you will have the ability to insert them into the Master Project. You must insert the subprojects into the Master Project using Project Professional. There is not a method to insert subprojects into the Master within Project Server: Project Web App (PWA). To insert a subproject into a Master Project:
1. Open an Enterprise project within Project Professional with the connection to Project Server.
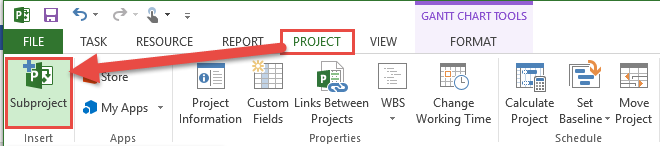
2. Select the area of the Master Project where the subproject will reside. Then select the Project tab and click the
[Subproject] button to select the subproject to be inserted.
3. Within the Insert Project window, select the “Show me the list of all projects”.
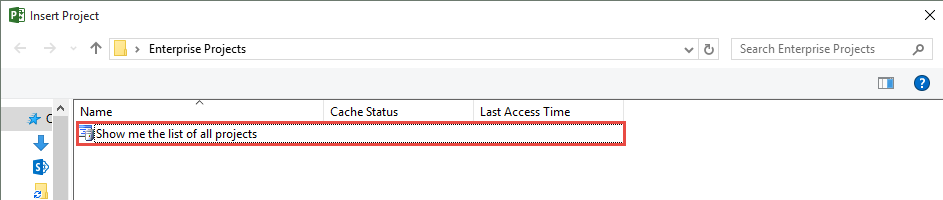
4. Once the complete list of all project saved within Project Server are displayed, select the first subproject that will be inserted. Click the [Insert] button to insert the subproject into the Master project.
5. Once the subproject has been inserted, the indicator icon will display a Project icon. The subproject can be fully expanded within the Master Project to display all of the project tasks.

6. You may repeat steps 2-5, to insert all necessary subprojects into the Master Project schedule.
7. Once all subprojects have been inserted into the Master Project schedule, save the master project schedule to Project Server.
When you insert a subproject into the master project, the two projects are linked and you can view all the information in the subproject from the master project
Show/Hide Subprojects within Project Server
Given that all of the subprojects have now been inserted into the Master Project, you may decide whether it’s necessary to display the subprojects as separate projects within Project Server PWA. Within the PWA Project Center view, there is a method to display or remove the subprojects from the view.
1. Within PWA, select the Projects view to access the Project Center. Within the Project Center view, select the Projects tab. Within the projects tab, there is a subprojects selection within the Show/Hide section.

2. By selecting the Subprojects option, the subprojects will be displayed within the Project Center.
3. By unselecting the Subprojects option, the subprojects will be removed and only display the Master Projects or other projects that have not be inserted into a Master Project.
Group the Programs together
Within the Project Center, once the Subprojects are selected for display, you may find that the related subprojects are not grouped together. It is a good idea to group the subprojects together by their Program Name if they will be displayed within the Project Center view. To group your related projects by their Program Name, you can follow these steps:
Create the Grouping Column
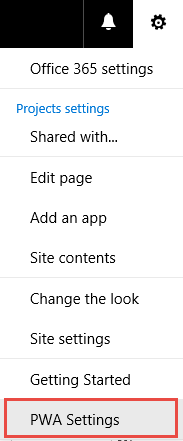
1. Within PWA, select the PWA Settings from the Admin icon on the upper right corner of the screen.
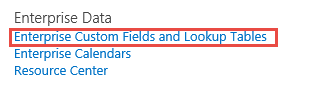
2. Within the PWA Settings, select the Enterprise Custom Fields and Lookup Tables link within the Enterprise Data section.
3. Within the Enterprise Custom Fields section, click the [New Field] button.
4. Create the new Program Name field:
– Name: Program Name
– Description: Related subproject program group name.
– Entity: Project
– Type: Text
5. Click the [Save] button.
Note: You may create a Single Line Text based field, to enter the Program Name for each subproject. You may also decide to use a lookup table to select the Program Name from a pre-defined list of values. When using a lookup table, you must add all new programs to the lookup table selection values when it’s established. Using a text field may simpler for the overall administration of the project groupings.
Updating all Subprojects with the new Program Name
To update all subprojects and master projects to apply them to their corresponding group, navigate to the PWA Project Center.
1. Within the PWA Project Center, select the Project Name link of the project that will be updated with the new Program Name. This will open the project detail view(s).
2. Select the Project Details view within the left side current navigation.
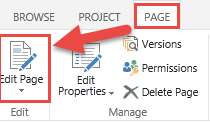
3. If the new Program Name field has not already been added to the Project Details view, open the page for editing. To open the page for editing, select Page tab. Within the Page tab, select Edit Page.
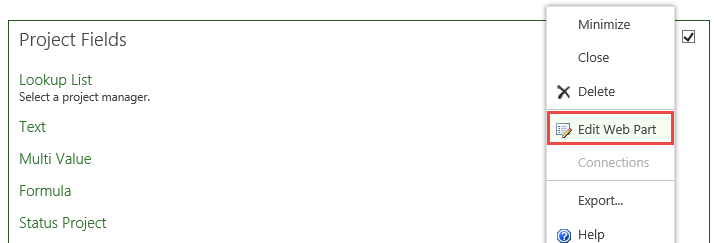
4. Within the Edit Page view, select one of the web parts that is displaying project fields. Select the Edit Web part option from the upper-right side selection arrow.
5. Within the Web Part edit window, select the [Modify] button within the Displayed Project Fields section.

6. Within the modify view, add the new Program Name field.
7. Click [OK] at the bottom of the Web Part edit window to save the web part update.
8. Once the web part now displays the new Program Name, click the [Stop Editing] button within the page ribbon.
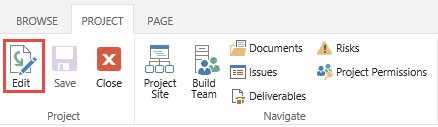
9. Once the page has been edited with the new Program Name field, select the Project tab from the ribbon
10. Within the Project tab, select the [Edit] button.
11. Within the Project Properties page, enter the name of the project program within the Program Name field
12. Click the [Save] button.
13. Now close the Project Properties page and Check-In the project.
14. Repeat steps 10-13 within the Project Center (after selecting the Project Details of each related subproject/master project).
Group the Views by the Program Name
1. Within PWA, select the PWA Settings from the Admin icon on the upper right corner of the screen.
2. Within the PWA Settings, select the Manage Views option from the Look and Feel section.
3. Within the Project Center views, select the views that you would like to group by Program Name.
4. Within the Edit View page, navigate down to the Fields section and add the Program Name to the view.
5. Navigate down to the Group By section and select the new Program Name field.
6. [Save] your edits.
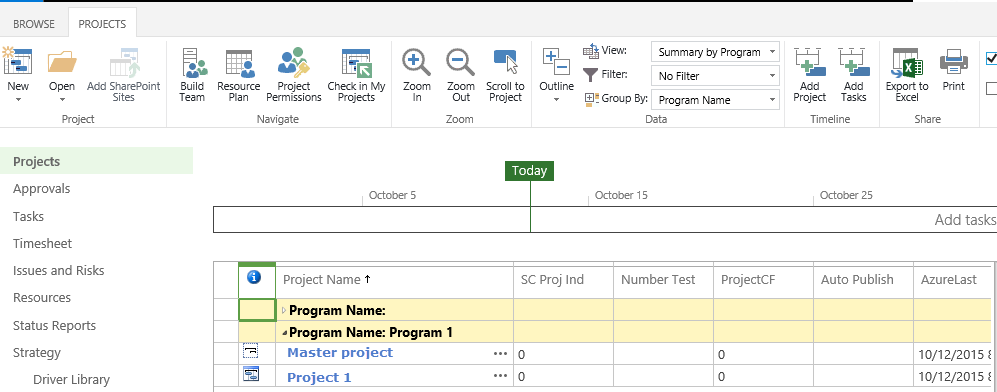
Validate the Grouped By View
1. Return to the Project Center by select Projects from the left side Current Navigate panel.
2. Within the Project Center view, be sure to select the Projects tab.
3. Within the Project tab, ensure the subprojects flag is selected to view the master and subprojects.
4. Within the Projects tab, select the view that has been updated to be grouped by the Program Name.
5. Ensure the view is correctly displayed. Notice the icon associated with the Master Project.


