Add a Custom Project Tile to Your Office 365 App Launcher
For licensed users the default Project Tile in the Office 365 App Launch will go to the default Project Web App (PWA) URL:
/sites/pwa
Here’s how to add a Custom Project Tile for an additional Project Online – Project Web App site.
-
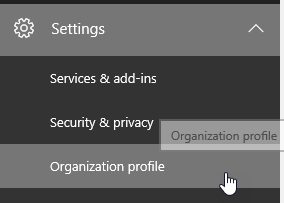
In the Office 365 Admin Center, expand Settings, click Organizational profile

-
In the Add custom tiles for your organization section, click Edit

-
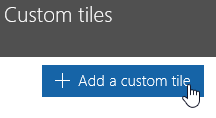
Under Custom tiles click, Add a custom tile
-
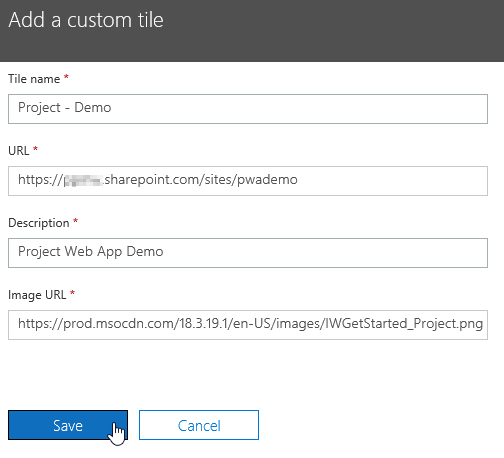
Under Add a custom tile, enter the following
Title: Project – URL: Description: Image URL: https://prod.msocdn.com/18.3.19.1/en-US/images/IWGetStarted_Project.png
-
Click Save
-
Important! Wait 15 minutes for the Custom Tile to propagate.
Provide this instruction for users to pin the new custom Project tile
-
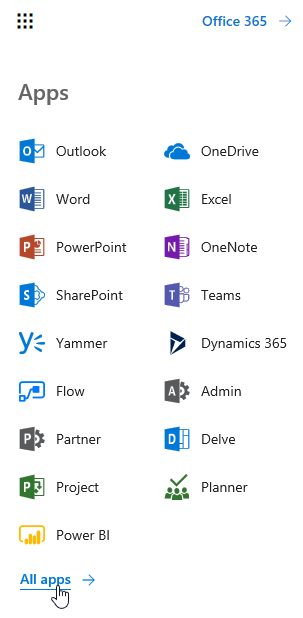
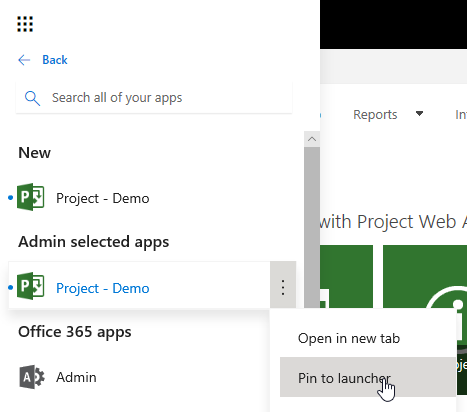
Connect to Office 365, click the App Launcher, click All apps
-
Under Admin selected apps, click the ellipse next to the new Project tile, click Pin to launcher
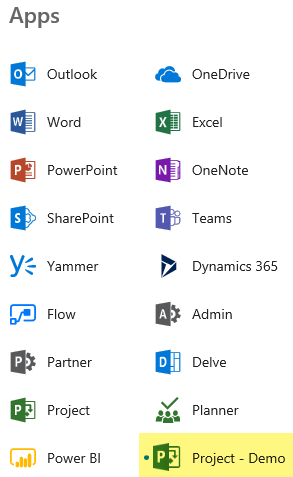
- Now users have the new Project tile on the App Launcher
Find this helpful? Make sure to email Subscribe to our Blog


